We connected with our talented friends at Sara Baig Designs who gave us a one-on-one on how to DIY our bestie’s bouquet for her big day.

Arranging Your Bouquet

1. Clean stems on the flowers and remove foliage. De-thorn the roses. Cut the length of the stems for all the flowers. Make sure all the stems are about the same length.
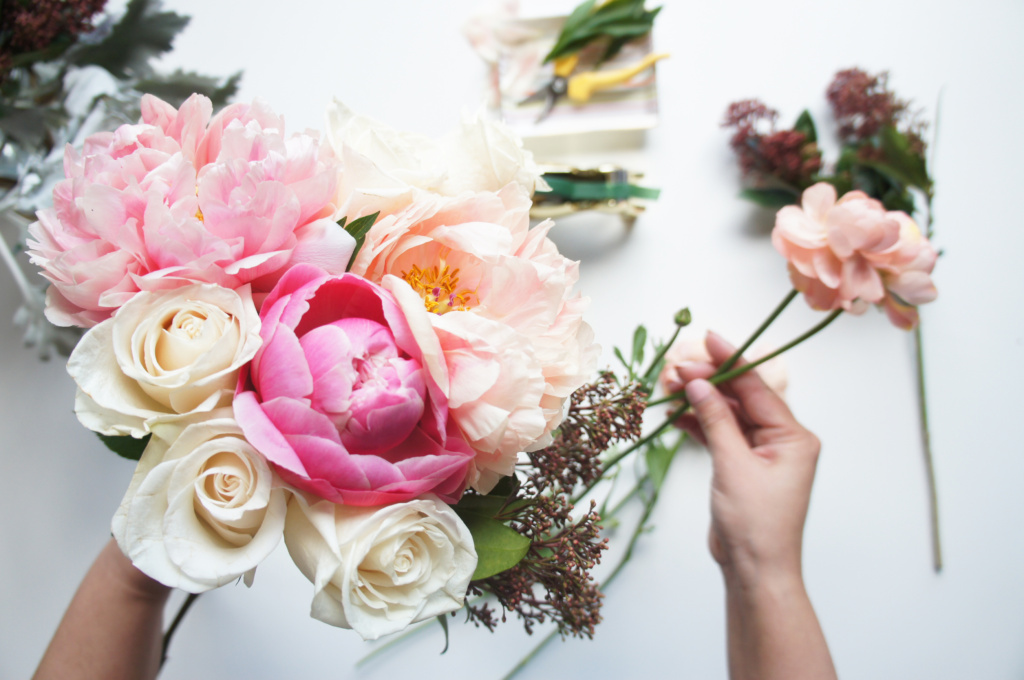
2. Pick two or three flowers to start the bouquet. This anchors the bouquet. Start adding flowers and fillers of choice. Mix as many textures (foliage and florals) as possible to create a visually interesting composition. Be mindful of size to ensure it is in proportion to the person carrying it. You don’t want it to be too big or small. For sturdiness keep adding tape as you add more florals.
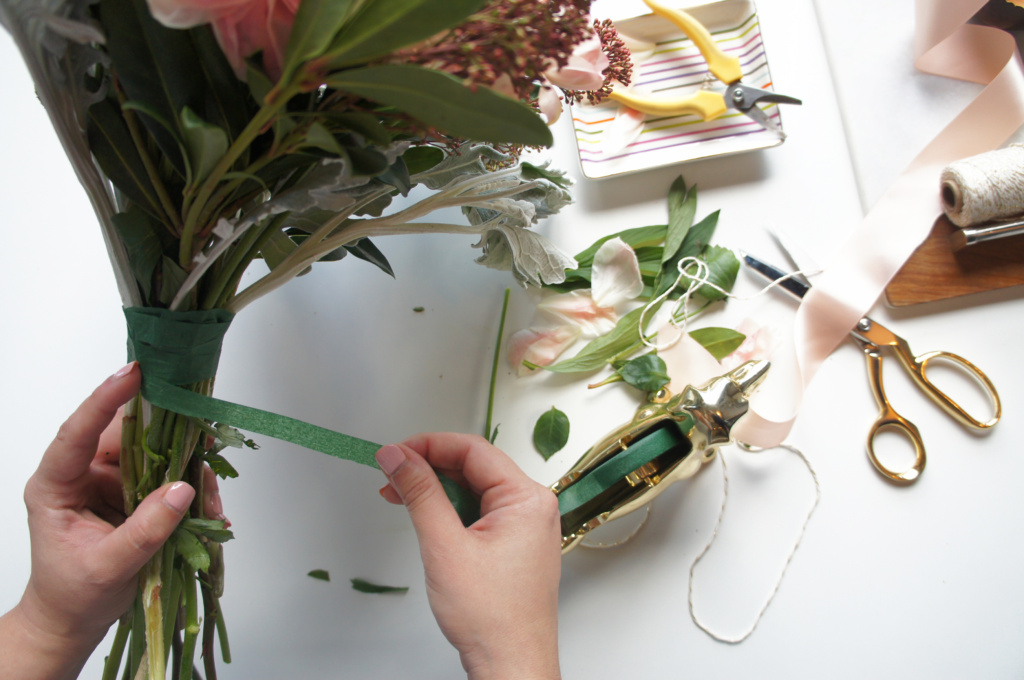
3. Once you have reached the desired size, begin wrapping stems with floral tape. Try to start 1.5 inches from the flowers. Leave about 0.5 inches of the stem at the bottom (or more depending on the look you are aiming for).
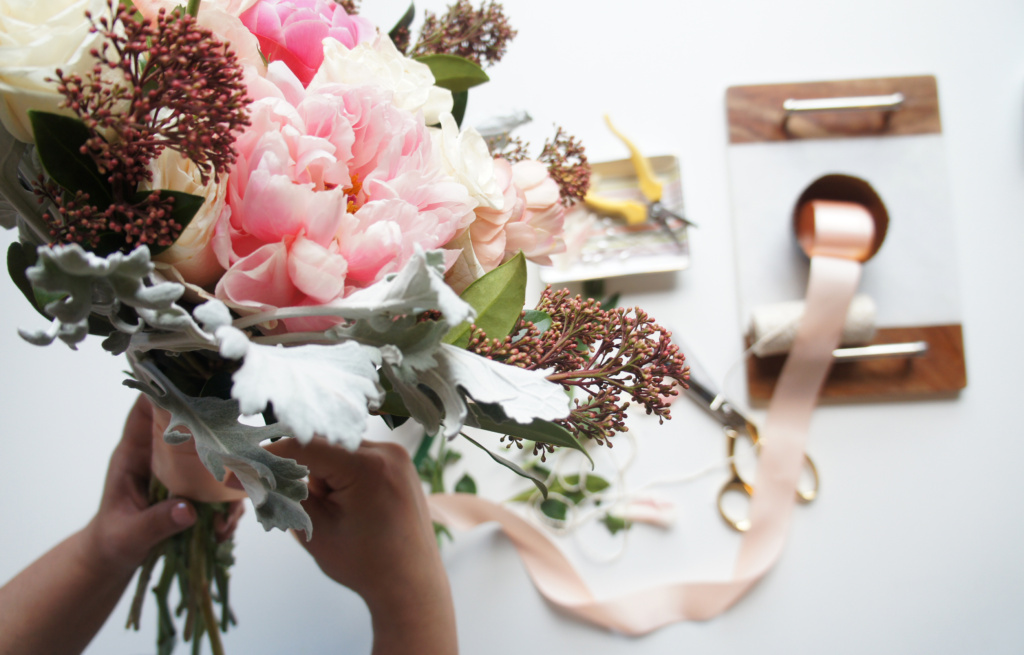
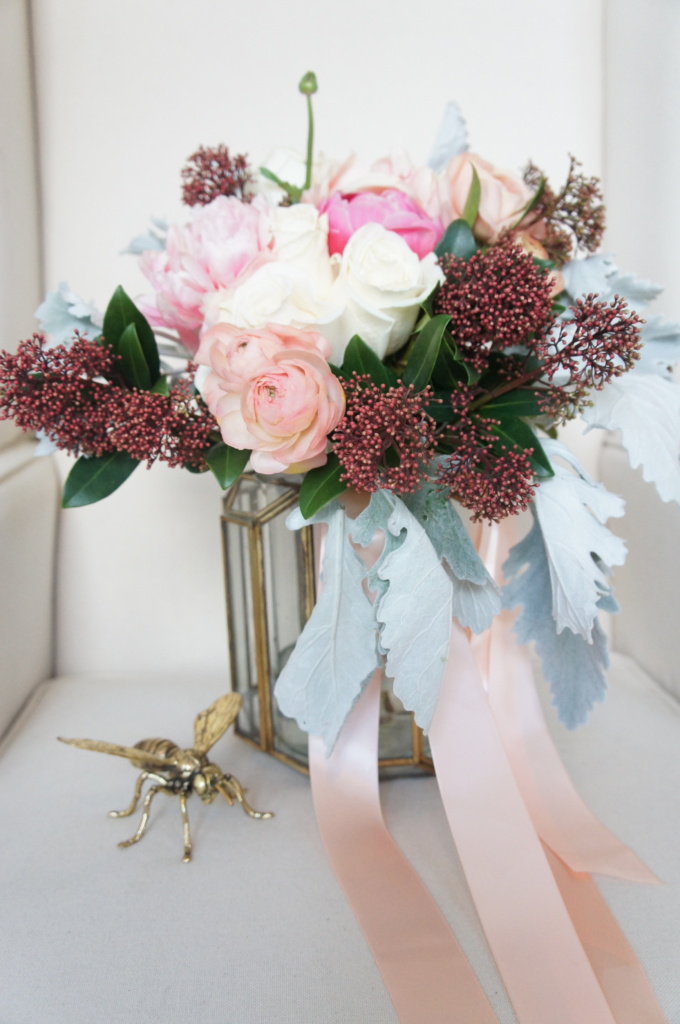
4. Cover the tape with ribbon and use pins to secure. Style your ribbon based on your aesthetics/wedding theme.